4) Availability & Photo ID Process
In order to determine if there is service available in the applicant’s area, the first step is to select the applicant’s Language and enter the address’ zip code. If the service is available, the system will continue to the next screen after clicking the NEXT button.
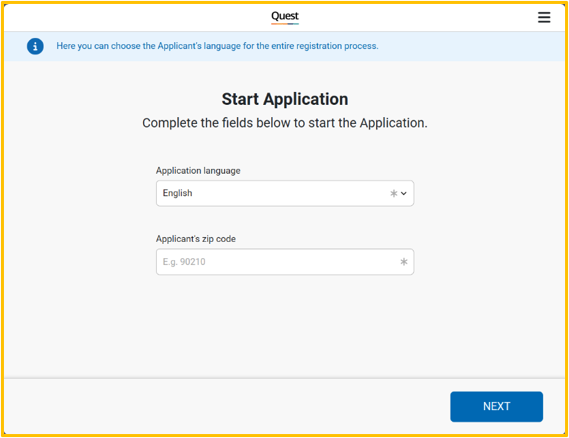
Note: The button will be disabled until a zip code is entered to check availability.
If there is service available in the area, the Quest app will get to the next screen, and the Street Team agent will have to select the Safelink option.
Note: brands will be subject to the agent’s profile configuration. The default brand for agents will be Safelink wireless, unless a different set up is requested by the provider.
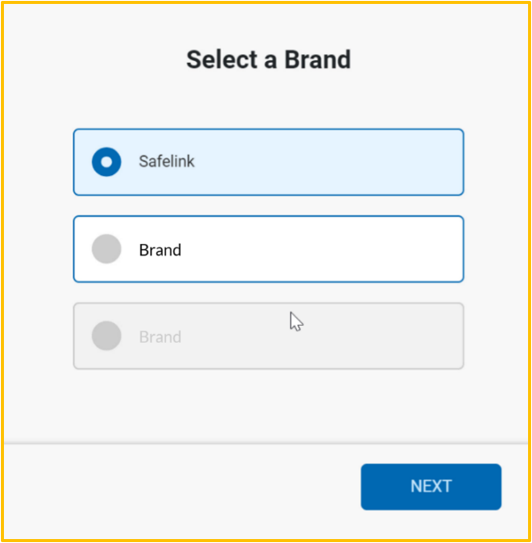
Photo ID Process
After selecting the brand, ST agents will have to take a photo to the applicant’s ID. This may help introducing the applicant’s PII in the application and save time during the enrollment creation. The Quest app will provide a list of acceptable documents for the applicant to select one of them.
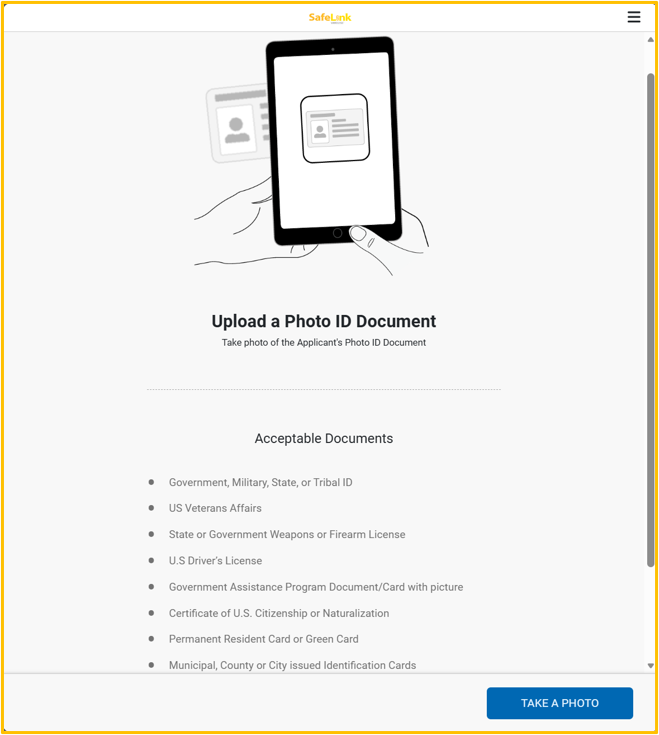
After clicking on the TAKE A PHOTO button, the camera will be enabled to take the picture of the document selected.

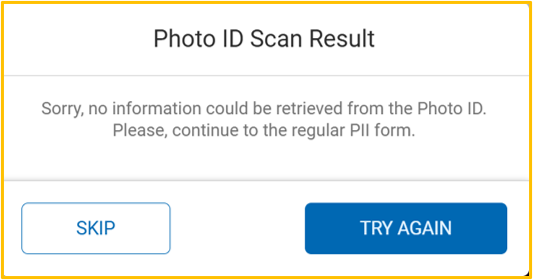
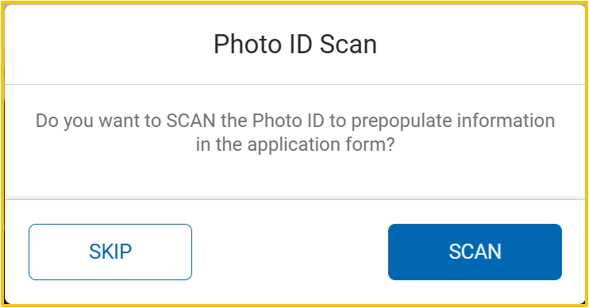
After the picture is taken, the Quest app will ask the ST agent if they wish to proceed with the SCAN process to prepopulate the information in the application form. Otherwise, the SKIP button should be pressed to continue the enrollment process regularly.
If the scan process is accepted, the Quest app will try to collect the information from the picture taken. If the information is successfully scanned, the applicant’s PII will be prepopulated in the following step. Otherwise, the following message will be displayed. ST agents can either TRY AGAIN and perform a new scan, or they can just SKIP the scan process and fill in the applicant’s PII manually.