
12) Review Enrollment & Electronic Signature
In the following section, applicants will have to accept all terms and conditions presented. In the first section, they will be requested to accept that the camera will be activated to capture the applicant’s face. The Quest app will also display the different sections in which the process is divided.

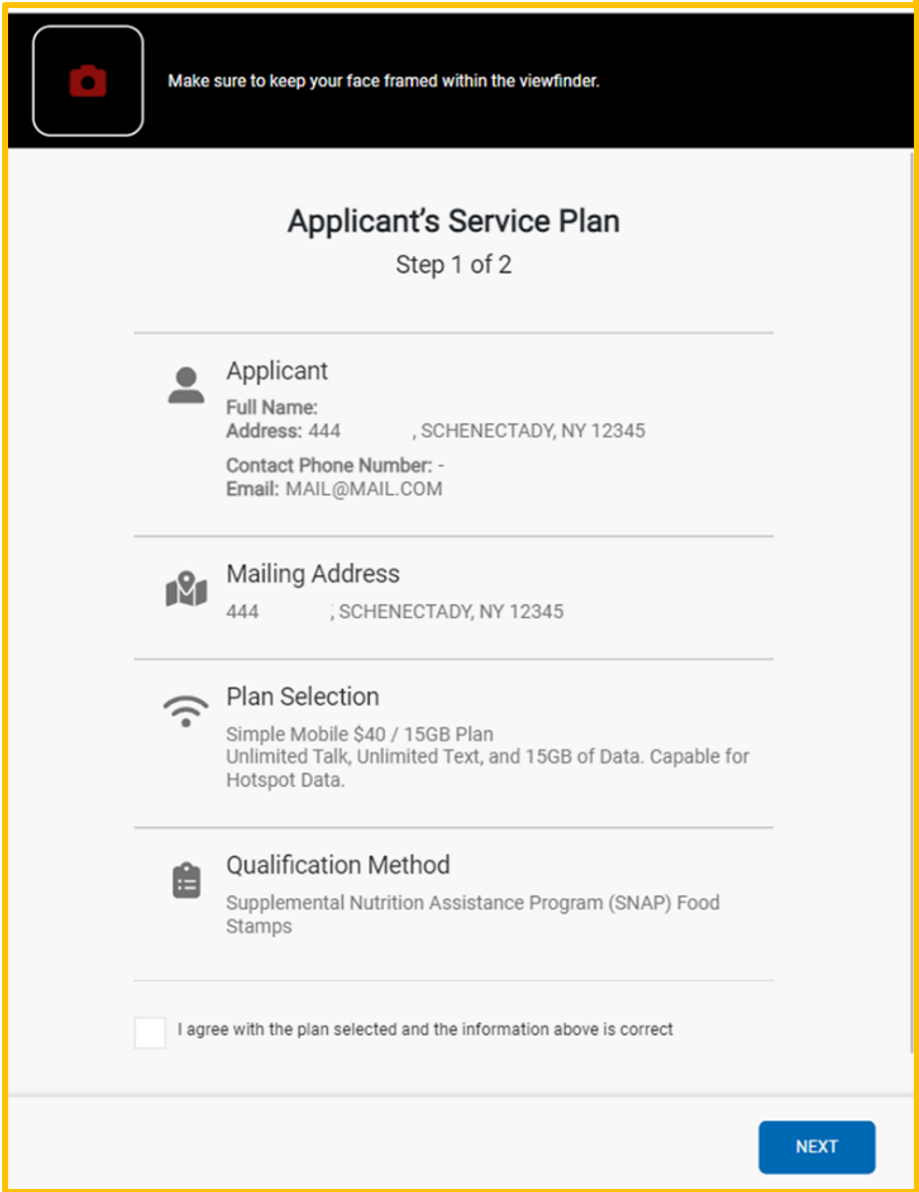
As the image from the left shows, the initial step will request the ST Agent to verify all the information related to the Applicant, the Mailing Address, the Plan, and the Qualification Method. If applicants agree with all the data displayed, they will have to provide a checkmark in the box provided and then click on NEXT.
In the second step, applicants will have to go over the different disclosures. If the applicant selected a Federal program during the Qualification Selection, the Federal Disclaimers will be presented first.
These disclaimers will also be displayed if the applicant chose the income option to apply.

Then, the State Disclaimers are introduced. The applicant will have to agree to all of them. If so, the I AGREE AND E-SIGN button located at the bottom should be pressed.

Before continuing with the enrollment process, applicants will have to indicate if the picture taken is clear enough. If that is the case, the CONFIRM button should be pressed. Otherwise, they can press the RETAKE button to take a new picture.

Under the Application review, the list of TOS will be shown, and each of them needs to be tapped by the customer to accept them. Remember, this is a handover section, therefore the applicant is the one reading and accepting them. Next, the applicant has to click on the CONFIRM SIGNATURE button, located below the Penalty of Perjury statement.

The Quest App will let the applicant know that the device can be returned to the Street Team Agent, who in the next step will have to request any proof requested by the system to perform the corresponding validations.
