
System Validations
While entering the applicant’s information to the Quest app, the system will perform a set of internal and external validations needed to be in compliance with current Lifeline rules.
What are these rules?
There can only be one Lifeline Benefit
- Per person and
- Per household
The definition of a “household" is anyone living at an address (including children, relatives, people not related to you, etc.) who share income(s) and household expenses.
How does the system validate these rules are in compliance while creating an application for Lifeline benefit?
The Quest App will perform both internal and external validations, in order to confirm that the application will be in compliance with these rules.
The system completes the following validations:
1) Address Validation
2) One per person Validation
3) One per Household Validation
4) Public Records Validation
5) NLAD Validation
Address Validation
In order to create the application, the address entered must be a valid, deliverable physical US address.
The system will check the address entered and complete a “postal address verification”. This is the process used to check the validity and deliverability of a physical mailing address. According to the United States Postal Service, an address is valid (or “mailable”) if it exists within the comprehensive list of “mailable” addresses in their Address Management System.
PO Boxes are not allowed in the main address section.
Address example:
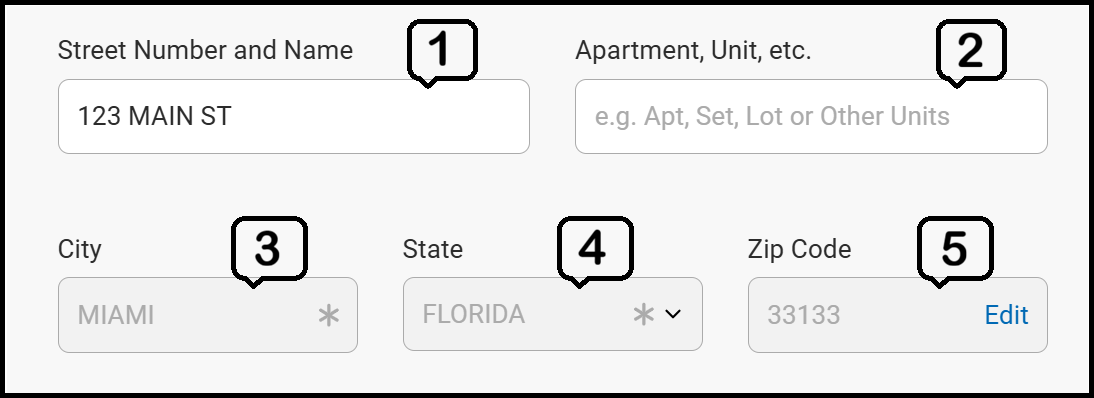
1) Address line 1 is usually composed by
a. Door number
b. Direction. This is not included in all addresses. It can be E, for East for example.
c. Street name. Always use the correct abbreviation. Some examples are:
- ST for street
- AVE for Avenue
- CIR for Circle
- BLVD for Boulevard
- CT for Court
- DR for Drive
2) If needed, an apartment number or unit designator can be added in address line 2. Some
examples:
a. APT for apartment
b. BSMT for basement
c. DEPT for department
d. TRLR for trailer
e. STE for suite
3) Address city. Remember this will be auto filled by the App, based on the Zip Code entered.
4) The State will be added by the system based on the zip code entered.
5) The zip code is the one entered while checking availability.
Sometimes, a simple thing as a misspelling could lead the address validation to fail and the system to request extra documentation to be submitted, when not really necessary. Always check street name spelling and make sure all the address info, such as an apartment number, is included in the information entered.
Invalid address Documents
What happens if the address entered is not valid as per the Address validation?
If the address is not validated by the system, a warning will be displayed to inform the ST agent about this. The warning will let the ST agent know that the address validation failed and that the information entered should be checked (spelling, door number, etc.) to try again.
The ST agent will have to go back by tapping on the Review button. In the case the address validation determines that the address is not valid after a second try, the system will let the ST Agent know that the application can still be created and extra documentation will be needed to complete the enrollment.
What does this mean?
Once the application has been created, the ST Agent will have to submit proof of the customer’s address along with the qualification proof and any other proof requested by the Validations. The pop up will provide different examples of acceptable documents:
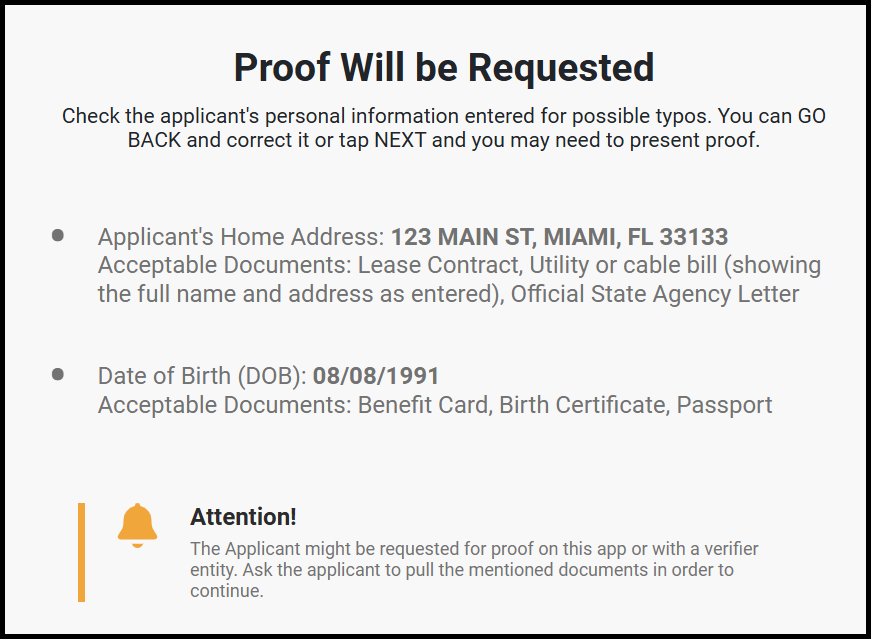
Address Proof
What documents can be used as Address Proof?
Besides the documents mentioned in the system suggestion, the following ones are valid for Address proof:
- Driver’s License
- State Issued ID
- Program Approval Letter (for example, SSI letter addressed to the applicant sent to the applicant’s address)
- Lease contract
- Electric bill

As long as the street address (including the apartment, etc.), the door number, the state and the zip code match, the proof should be considered valid, despite showing a different city.
Internal Validations
What does this validation do?
Internal validations include information such as Census records, loans, voters’ registration professional and business licenses, etc. The Quest App will run validations to confirm the information entered in the application is correct and accurate. This validation is performed through a third party validation process.
What happens if the validation provides negative results?
If the validation returns an invalid result, the system will notify the ST Agent that it was unable to verify the accuracy of all the information provided. The ST Agent should review the entered information and check for any typos or inaccuracies.
If, after reviewing and correcting the information, the system is still unable to validate the applicant’s PII, the Quest App will inform the ST Agent that the application may still be completed. However, additional documentation will be required to verify the applicant’s identity.
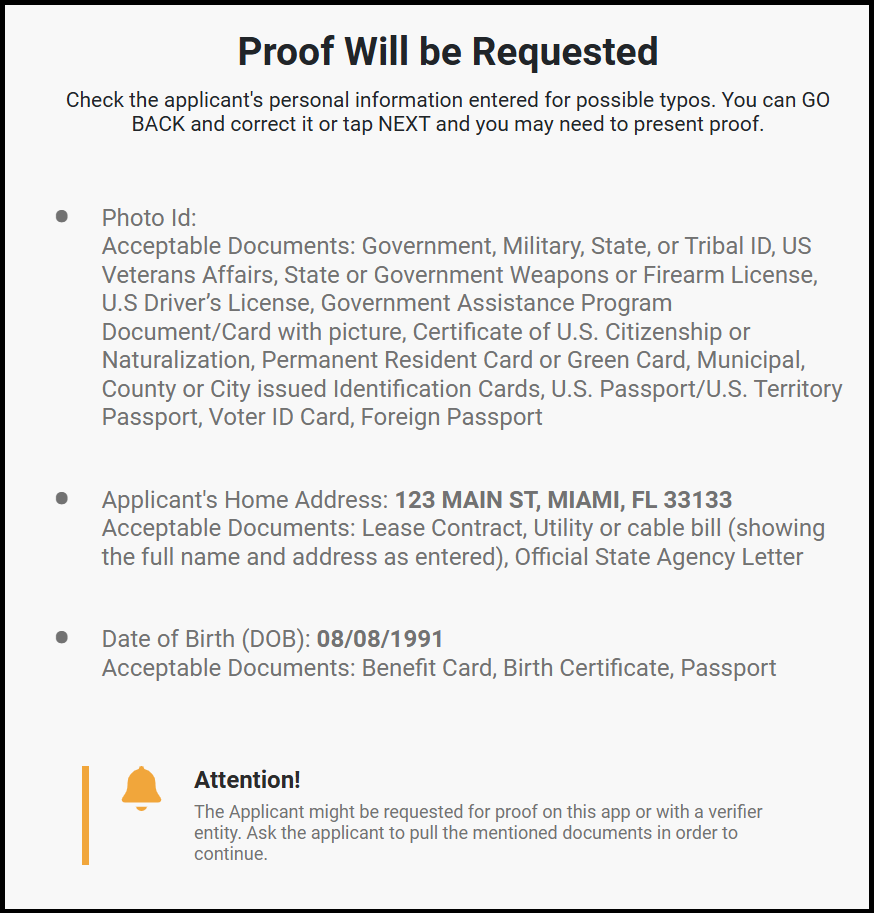
As shown above, the pop-up will provide information regarding the acceptable documents that applicants can submit for each case.
Dependent’s PII Validation Fail
In the case the application was created on behalf of a child or dependent, the system will run the same validations what were performed with the applicant’s info.
If after checking two times, the system is not able to confirm the dependent’s information, extra documentation will be requested.
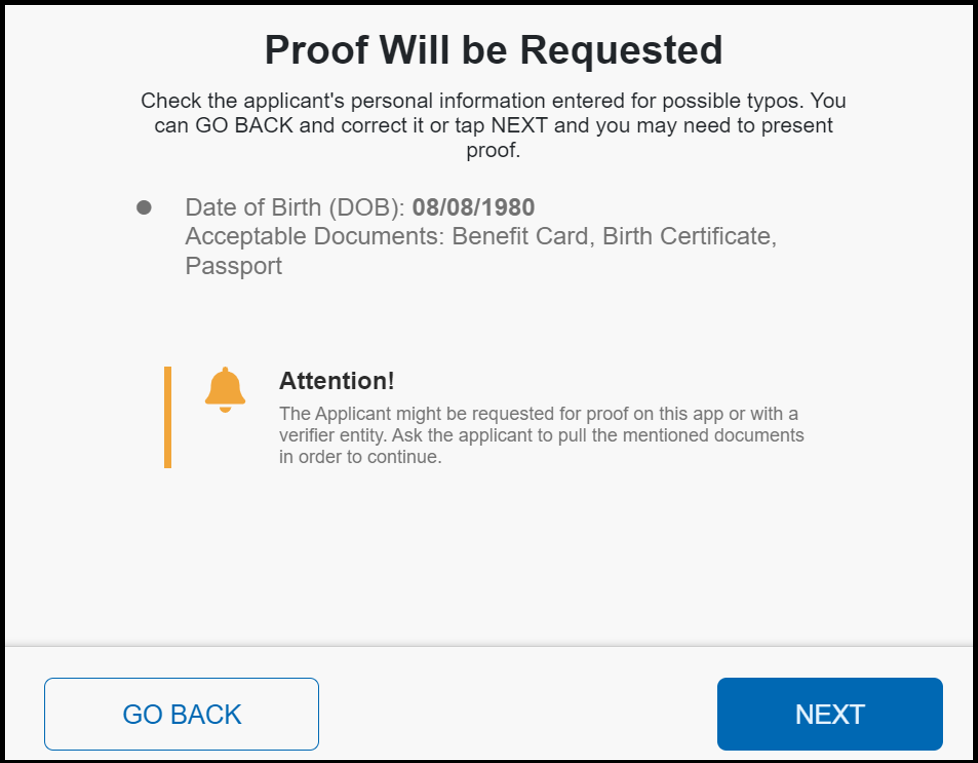
In the case of the benefit dependent being a minor (under 18 years old), in order to protect the information and to avoid its misuse, the system validation will always request SSN and DOB proof to be uploaded along with the rest of the proof requested by the system.